How to Loop a Presentation in Google Slides (2026)
Loop a Google Slides presentation so it auto-advances and restarts. Perfect for kiosks, trade-show booths, or hands-free demos. Step-by-step with screenshots.
A looping presentation auto-advances slide by slide and restarts when it reaches the end - ideal for kiosks, trade-show displays, or background visuals at events. Google Slides offers two settings: an auto-advance timer (per-slide delay) and a loop toggle (restart at end). Both live under File > Share > Publish to web for embedded loops, or in Presenter view for live ones.
How to loop a Google Slides presentation in Presenter view?
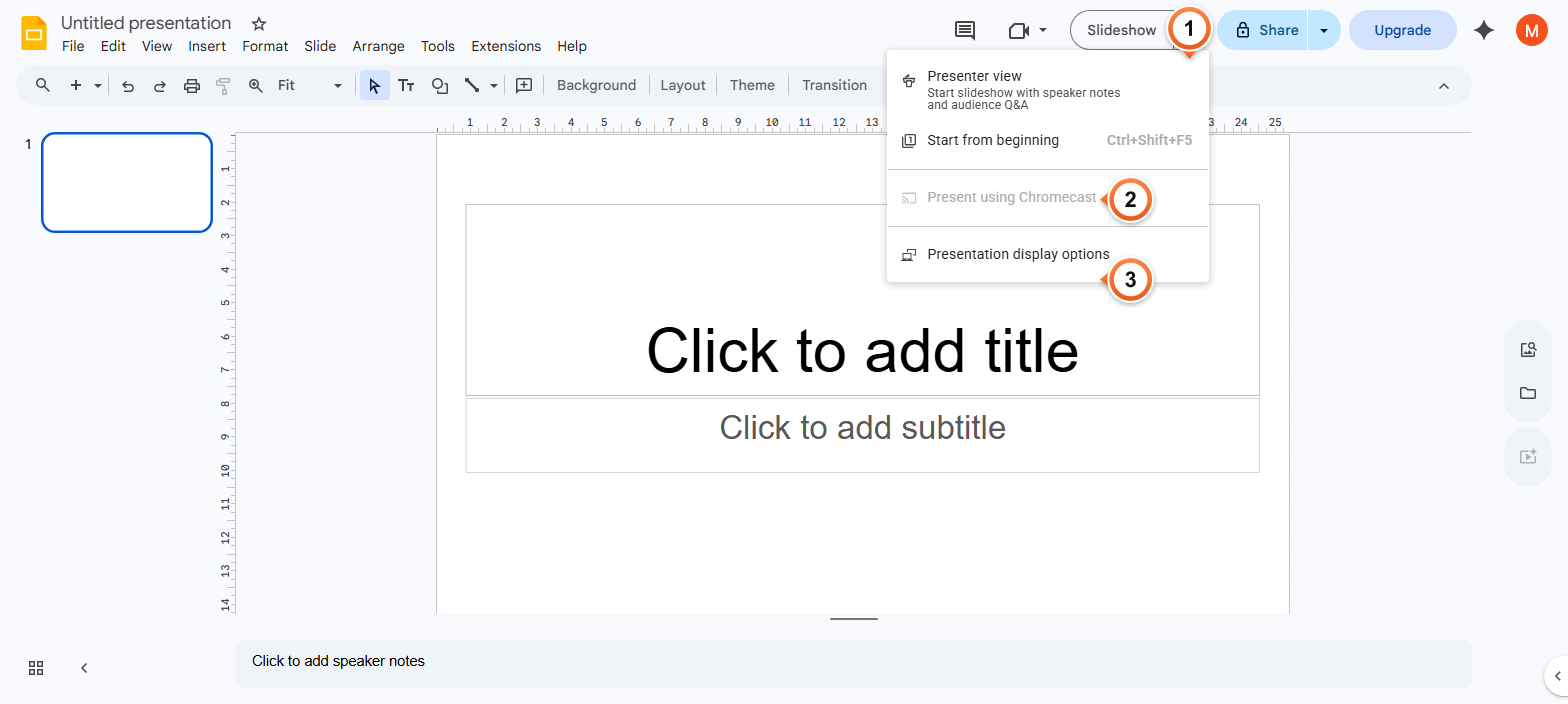
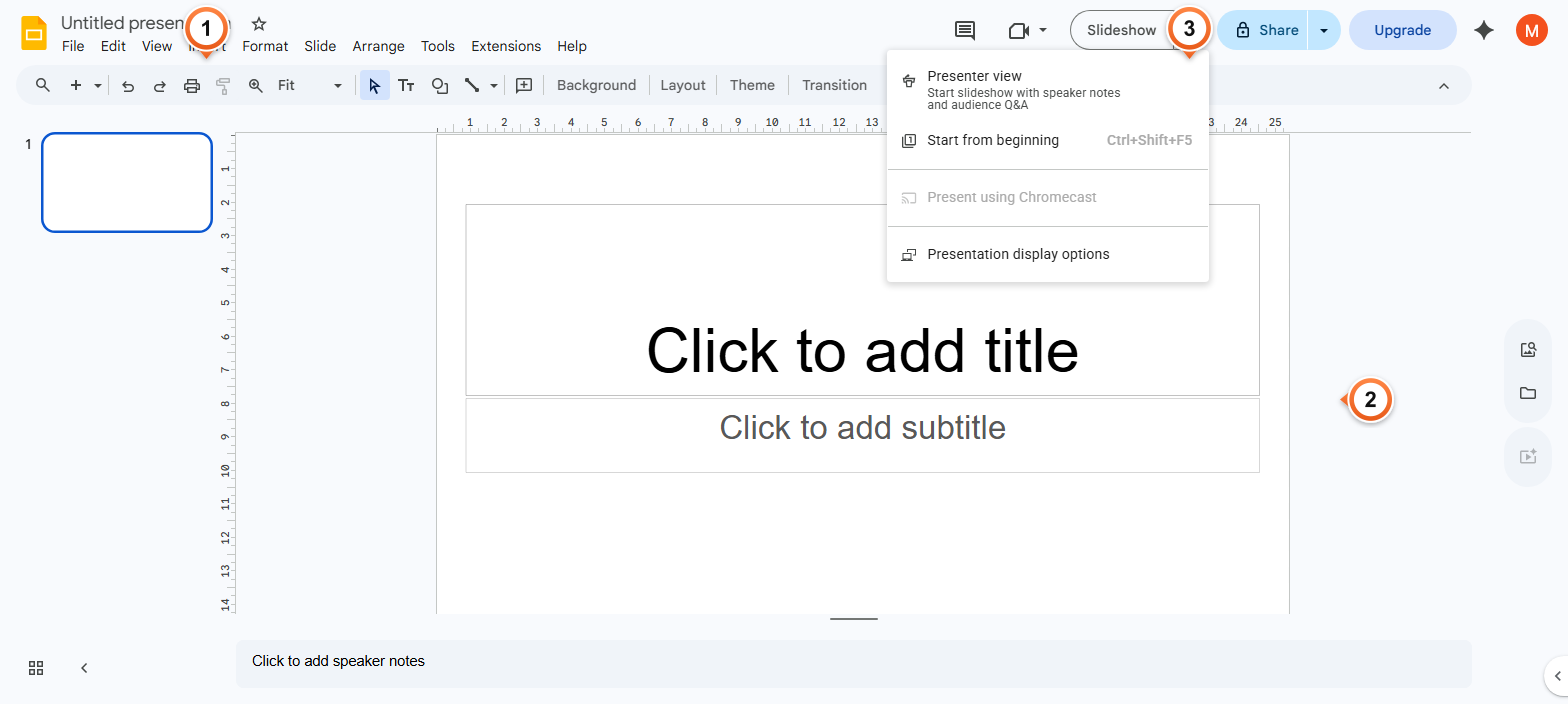
1. Click the dropdown arrow next to the Slideshow button (top-right of the editor).
2. Pick Presentation display options.
3. Tick Loop and pick an Auto-advance delay (1, 2, 3, 5, 10, 15, 30, or 60 seconds).
Note: Once Loop is on, the slideshow restarts automatically when it reaches the last slide. Useful for unattended displays. Press Esc during the slideshow to exit at any time - the loop won't trap you in the deck.
How to loop a published Google Slides deck?
1. Click File > Share > Publish to web.
2. In the dialog, set Auto-advance slides to a delay and tick Restart the slideshow after the last slide.
3. Click Publish - copy the embed URL or iframe code for your kiosk display.
Note: Published decks loop indefinitely until you stop them or unpublish. The published URL is public - anyone with the link can view. To restrict, use Presenter view's loop instead and start the deck from your own browser.
How to combine loop with auto-play audio for a self-running deck?
1. Add audio to a slide via Insert > Audio, then in Format options set Start playing to Automatically.
2. Tick Loop audio and Hide icon when presenting so the speaker stays invisible.
3. Combine with slideshow Loop + Auto-advance for a hands-free kiosk presentation.
Note: Browsers may block autoplay-with-sound until the user has interacted with the page. For kiosk mode, click anywhere on the page once before walking away - that releases the autoplay block. Some kiosk browsers (like Chromebook in Managed Guest Sessions) auto-enable audio.
Frequently Asked Questions
How do I make Google Slides auto-advance during a presentation?
In Presenter view, open Presentation display options (dropdown arrow next to Slideshow button) and pick an Auto-advance delay between 1 and 60 seconds. Each slide displays for that duration before automatically moving to the next. Combine with Loop for an indefinite kiosk-style display. Pair with auto-playing audio for a fully hands-free presentation.
Why won't my Google Slides loop work?
Three common causes: (1) the loop setting is on Presentation display options but you're not in Presenter view (regular Slideshow ignores it). (2) Browser autoplay policies block transitions in unfocused tabs - keep the slideshow tab in focus. (3) For published decks, the URL must include the auto-advance flag - re-publish if the URL was copied before settings changed.
Can I set different durations per slide in a loop?
Not via the standard auto-advance setting - one delay applies to every slide. The workaround: use slide animations with After previous triggers and custom delays. Each slide can hold for a different time before advancing. More complex but gives full per-slide control.
How do I stop a looping Google Slides presentation?
During the slideshow, press Esc - the loop ends and you return to the editor. For published / embedded decks, close the browser tab or stop the iframe. To permanently disable looping, open the Publish to web settings or Presentation display options and untick Loop / Restart.
Can I loop only part of a deck, not the whole presentation?
Not directly. Slides loops the entire deck or none of it. The workaround: split the looped section into a separate deck with just those slides, set it to loop, and embed or link to it from the main deck. The main deck stays linear; the embedded section loops independently.
What's the longest auto-advance delay in Google Slides?
60 seconds (1 minute) per slide is the maximum. For longer holds, use slide animations with After previous + custom delay (up to several minutes per object). Or set the deck to manual advance and combine with embedded video / audio that's longer than 60 seconds - the slide stays put while the media plays.
Will a looped Google Slides work on a TV display or kiosk monitor?
Yes - any device with a Chrome / Edge / Safari browser can run the loop. For dedicated digital-signage hardware (BrightSign, IAdea), use the published URL or download as MP4 (third-party export tools needed since Slides has no native MP4 export). The MP4 plays on any media player without browser dependency.
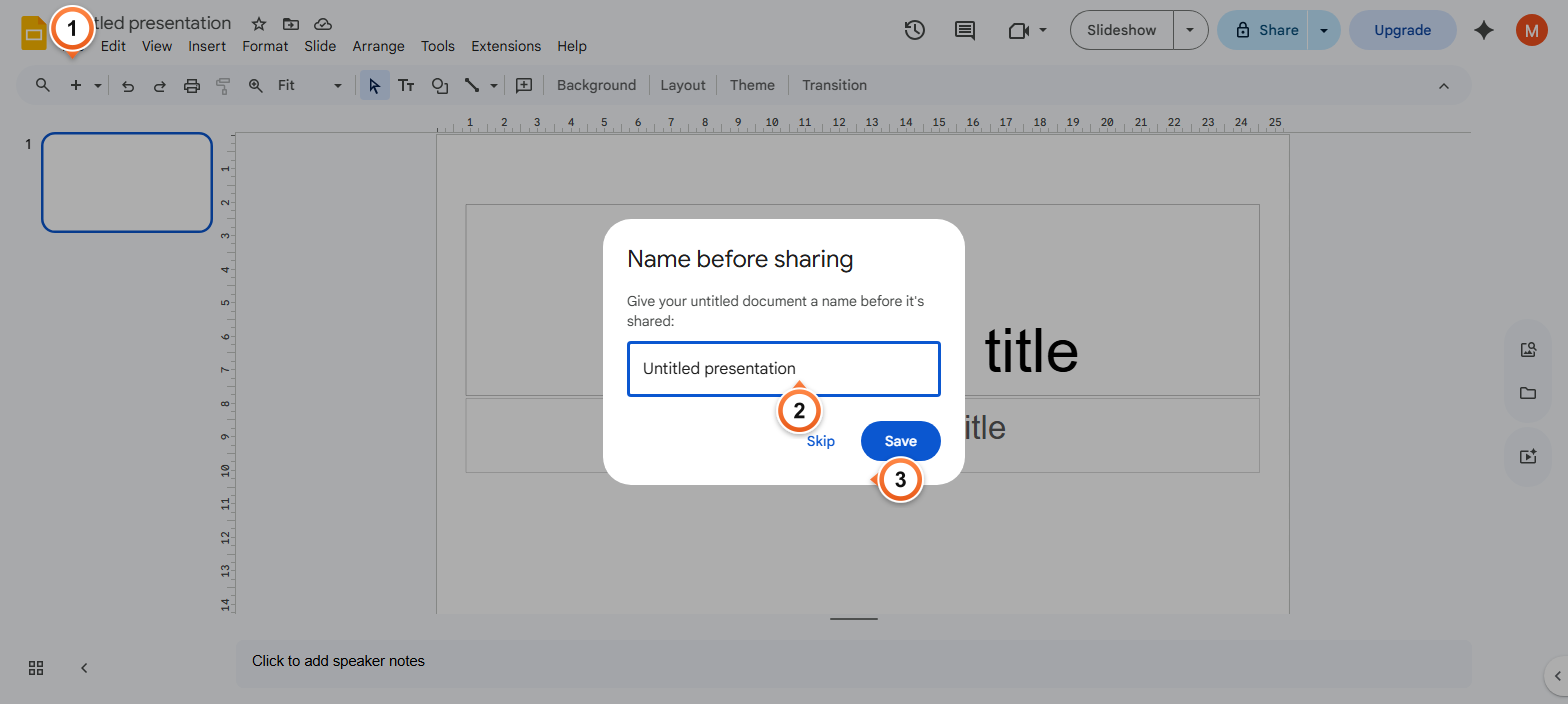
How do I share a looped slideshow with someone?
File > Share > Publish to web with loop + auto-advance settings, then copy the URL. Anyone visiting the link sees the looping deck without needing a Google account. For controlled access, share the deck normally (Share > Get link, set permissions) and have the viewer start Presenter view themselves with display options configured.
Want a deck that's already wired for kiosk-style auto-loops? Try Slidee - generate a complete looping presentation with embedded media in 30 seconds.