How to Add Borders and Shading in Google Slides (2026)
Add borders and background shading in Google Slides to highlight text and images. Step-by-step guide with screenshots.
Borders and background shading make your text and images stand out in a Google Slides presentation. This guide shows you how to add a border, change its color, and set a fill color in just a few clicks.
How to add a border to a text box?
1. Select an object.
2. Click the Border weight button on the toolbar.
3. Select a border weight.
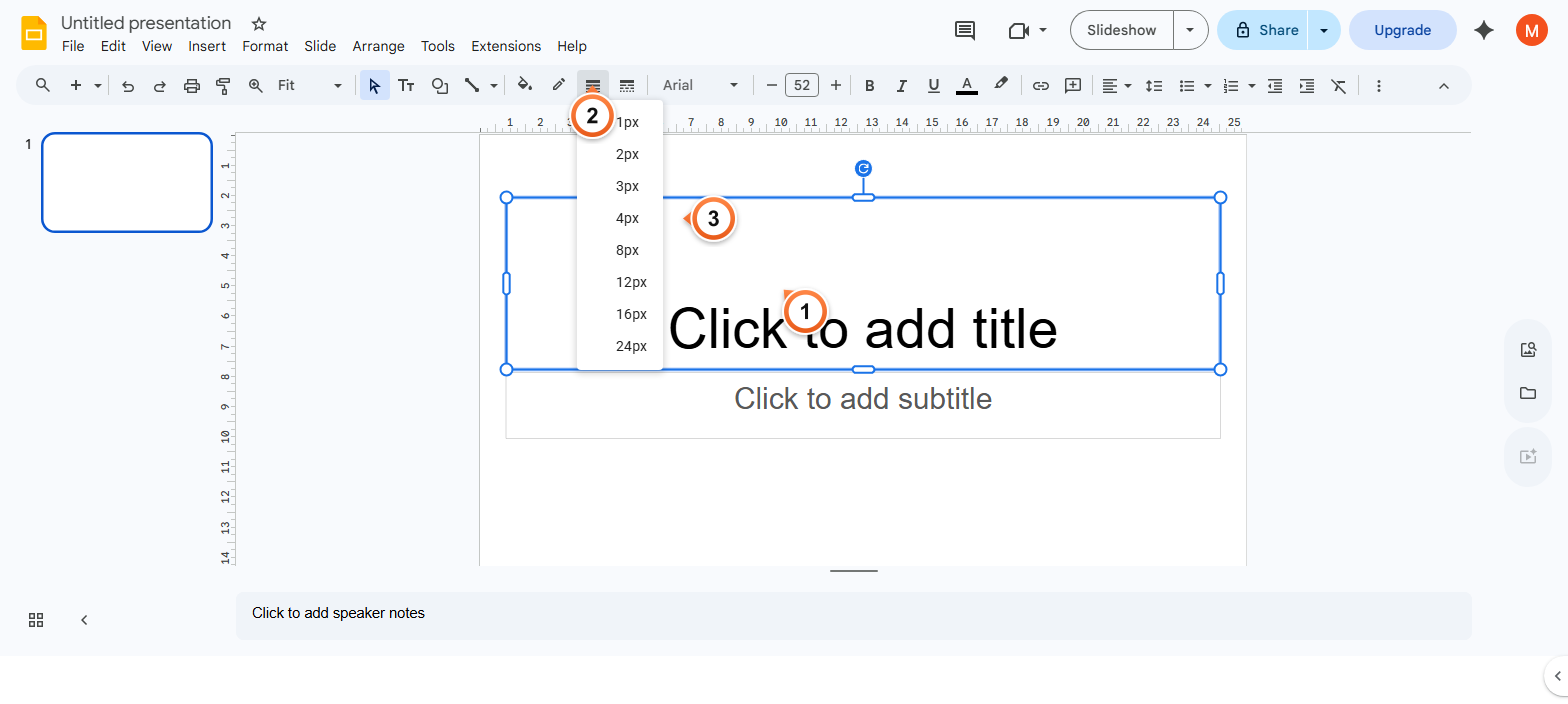
Note: The border is added to the text box.
How to change the border color?
1. Select an object.
2. Click the Border color button on the toolbar.
3. Select a border color.
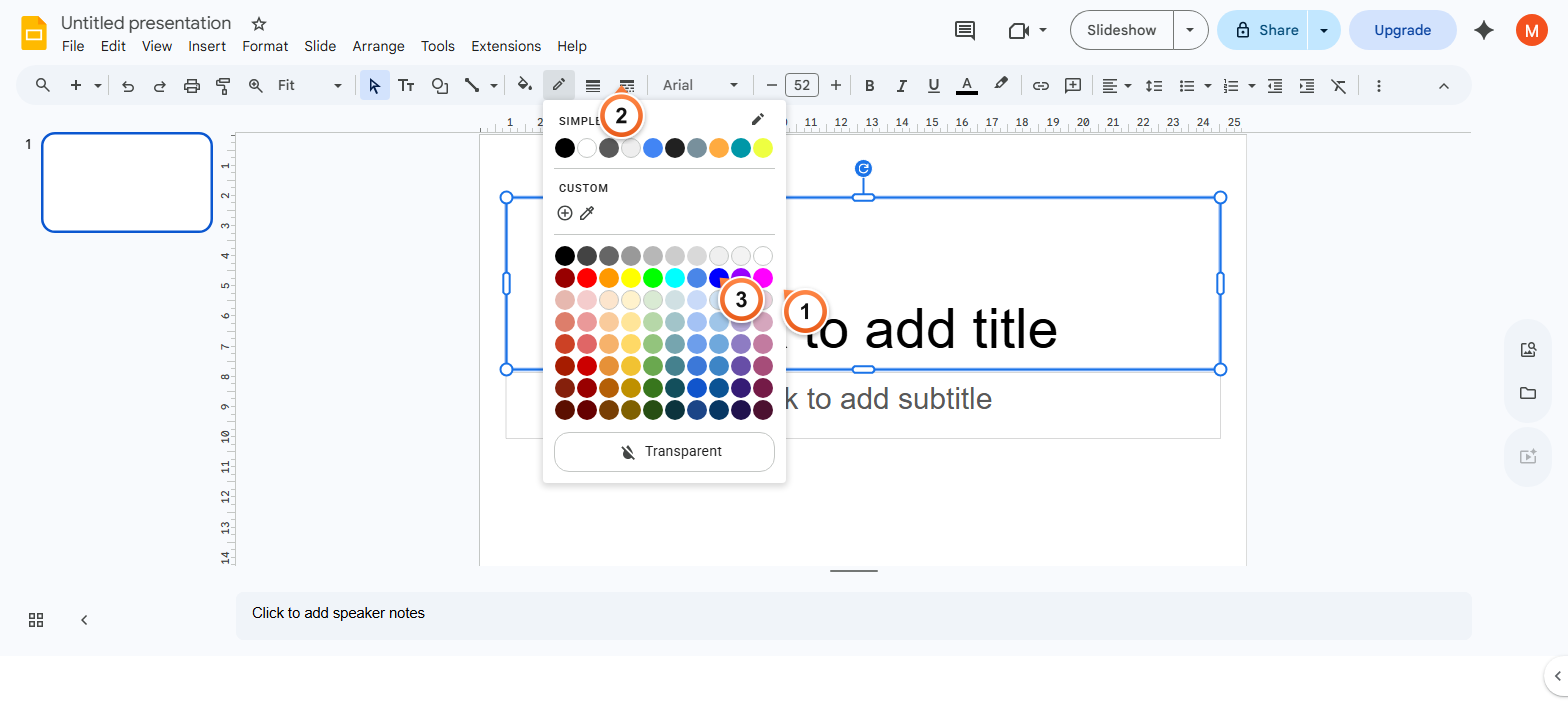
Note: You can choose from the color picker, or select a theme color that updates automatically when the theme changes.
How to add background fill colour?
1. Select an object.
2. Click the Fill color button on the toolbar.
3. Select a fill color.
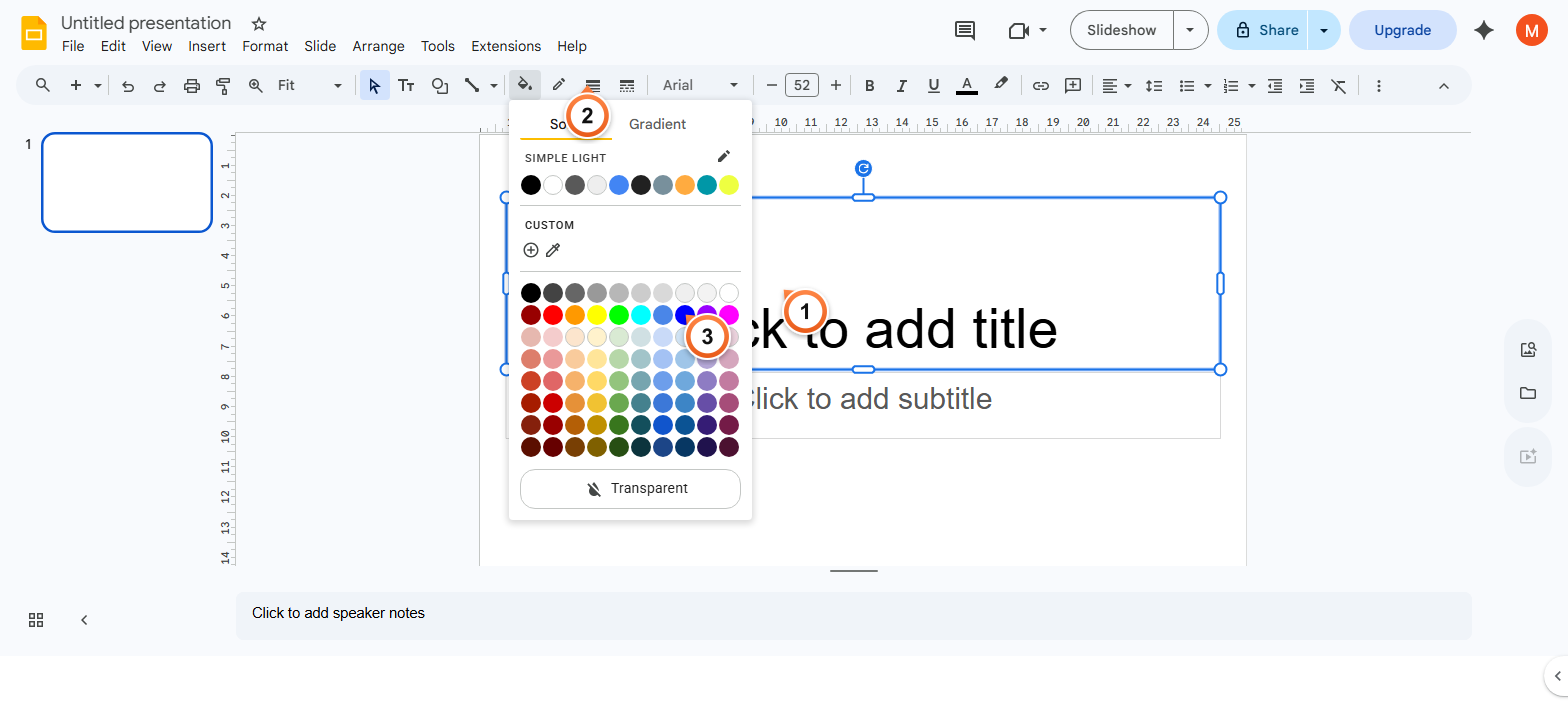
Note: You can add shading to a text box for background color. Options include colors, theme colors, or color gradients.
Frequently Asked Questions
Why can't I add a border to my image in Google Slides?
The Border colour and Border weight buttons only appear when an image, shape, or text box is selected. If the toolbar buttons are missing, click the image once to select it (you should see blue handles on the corners). For images, the border is added around the image's bounding box, not following the image edges - so transparent PNGs will show a rectangular border around the visible artwork.
How do I make borders thicker than 16 px?
The Border weight dropdown only goes up to 16 px directly. For thicker borders, draw a rectangle slightly larger than your object, set the rectangle's fill to None and its border to your desired colour and weight, then layer it behind the original object using Arrange > Send to back.
Can I add a dashed or dotted border?
Yes. With the object selected, click the Border dash button on the toolbar (immediately to the right of Border weight). Pick from solid, dashed, or dotted styles. Border dash works with any border colour and weight.
How do I add a border to multiple objects at once?
Hold Shift and click each object to select all of them, or drag a selection rectangle around the group. Then apply the border weight, colour, or dash style - Google Slides applies the change to every selected object simultaneously. This also works for fill colour.
Why isn't my border colour changing?
Two common causes: the object has no border yet (you need to set a Border weight first - even 1 px - before colour applies), or the object is grouped with another and the colour is being set on the wrong member. Click directly on the object you want to change, confirm only its handles are highlighted, then pick the colour.
How do I remove a border from a text box or shape?
Select the object, click Border colour, and pick Transparent at the bottom of the colour picker. Alternatively, set Border weight to the smallest option and Border colour to white if your slide has a white background. To remove a fill colour, do the same with the Fill colour button - click Transparent.
Can I add gradient shading instead of a solid fill?
Yes. With the object selected, click Fill colour and choose Gradient at the top of the dropdown. Pick from preset gradients or click Custom to define your own. Gradients work on shapes and text boxes but not on imported images. To gradient the entire slide rather than individual shapes, see Change Background in Google Slides.
Will my borders and fills export correctly to PowerPoint or PDF?
Borders and fills export reliably to both formats. Solid colours and standard weights translate one-to-one. Gradient fills sometimes shift slightly in PowerPoint depending on the receiving version. For PDF export (File > Download > PDF), fills and borders render exactly as on screen.
Want to skip the manual styling? Try Slidee - generate a complete presentation with on-brand styling in 30 seconds.